

Skip to content

My 3D Home Assistant floor plan

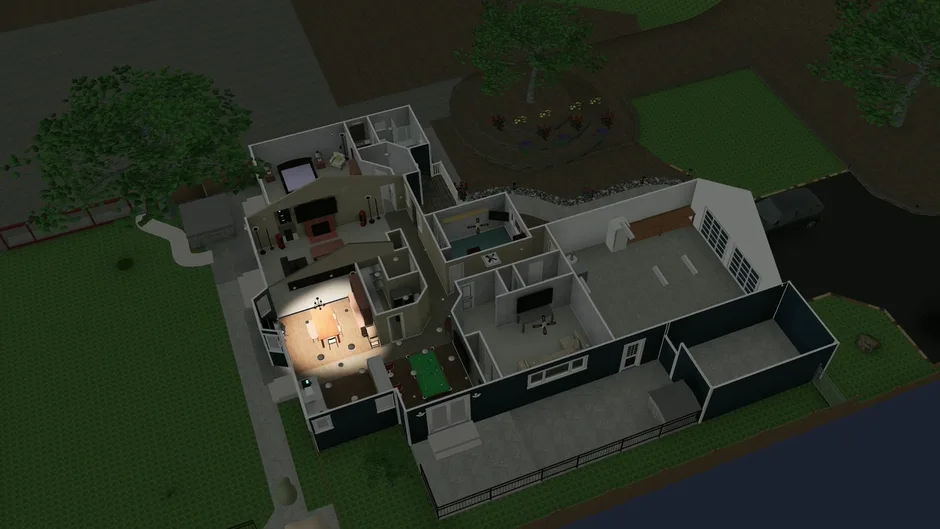
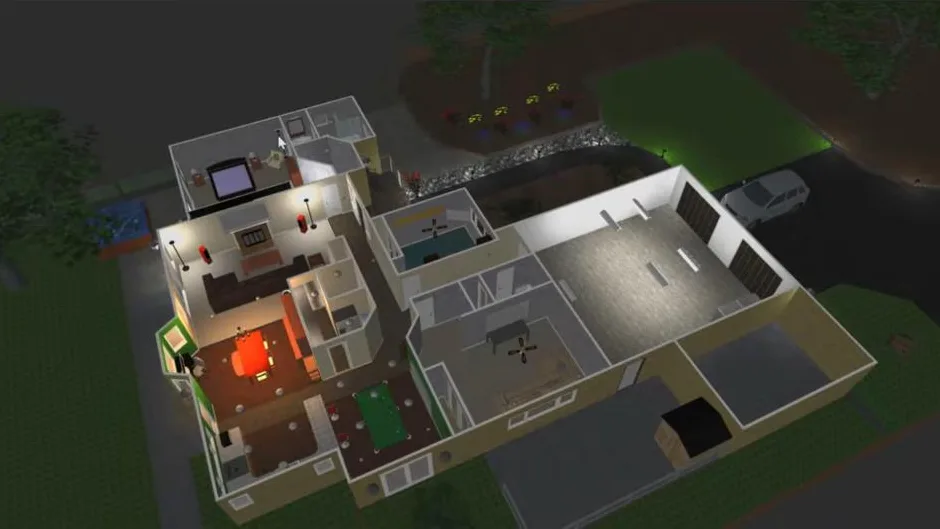
A working model of my smart home. Lights change color, doors follow sensors, and figures and screens show what Home Assistant knows about each room.

How my setup works

The model and the card

Floor3D Pro loads a GLB model alongside a JSON object list. Named objects and groups give the dashboard targets for lights, doors, screens and figures. I tune exposure, ambient light and wall glow in a separate rendering layer so I can refine the scene without changing its device mappings. My local rendering and GLB hierarchy extensions are listed in the integration inventory.

Two views of the same home

The panel view gives the model the full dashboard area. The sidebar test view pairs the same model with grouped controls so I can operate devices without relying on the 3D objects alone.

Home Assistant supplies the device states. The card maps those states to the scene. A light can change the illumination or color of a model object, a door sensor can drive a door animation, and a state can show or hide a figure or screen. Some objects also send a command back to Home Assistant when tapped.

Build your own, one room at a time

  1. Start with a small model. Name a lamp and a door in your 3D editor, export a GLB, and make sure the card can render it before adding device mappings.
  2. Map a light. Pair your lamp object with one light entity. Turn the real light on and off from Home Assistant and check that the model follows. If the bulb supports color, test that separately.
  3. Add a door sensor. Confirm which state your contact sensor reports for open and closed, then map those states to the modeled door. Test both positions before adding more doors. For a door driven by a cover entity, check what the dashboard does while it is moving or unavailable. My test view uses a conditional card based on the garage door position.
  4. Separate state from control. Start with a figure or screen that only reflects a state. Add a tap action to one light after the visual mapping works, and verify that the state reported by Home Assistant still drives the model.
  5. Build a controls view. Group the frequently used controls next to the scene. Keep custom scripts outside the card package folder so a card update cannot overwrite them.

See the historical floor plan package list for the cards and tools I tried along the way.

Follow along as the progress continues

This page is the build journal for the floor plan. The two tours above are the first milestones. I plan to add deeper walkthroughs on preparing the model, mapping sensors and lights, and building the controls view.